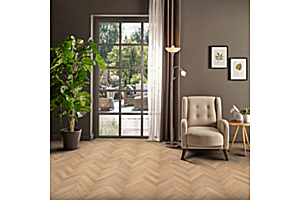
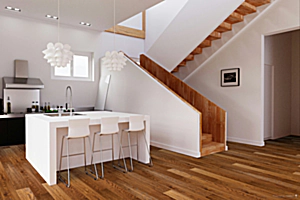

Herringbone flooring can look complex, but with the right preparation and an informed approach, it's a project many DIYers can handle. Whether you're installing engineered wood, laminate, or LVT herringbone flooring, the trick is careful planning and getting the first rows perfectly aligned.
Project overview:
Difficulty: Moderate
Time: 1-2 days
Suitable for: Confident DIYers
Step 1 - Prepare the Subfloor
Make sure your subfloor is clean, dry, and level. Any uneven areas can affect the final result, so take time to fix dips or bumps before you begin. Good subfloor preparation is essential for a long-lasting herringbone floor installation.
Step 2 - Acclimatise the Flooring
Leave your flooring in the room before fitting so it can adjust to the temperature and humidity. Laminate and LVT typically need 24 hours, while engineered flooring or solid oak flooring may need longer. If you have underfloor heating, switch it off beforehand and bring it back up gradually after installation.
Step 3 - Gather Your Tools
You'll need a tape measure, pencil, set square, rubber mallet, tapping block, saw or utility knife, and a vacuum or broom. Having everything ready will make the process smoother.
Step 4 - Mark the Centre Line
Most herringbone flooring is installed from the centre of the room to keep the pattern balanced. Use a set square and pencil to mark a straight centre line. This will guide your first rows and keep the design symmetrical.
Step 5 - Lay the First Row
Herringbone patterns are created using left and right boards that form a V shape. Take your time with the first row, as it sets the alignment for the entire floor. Whether you're using click flooring, a floating floor system, or glue-down parquet flooring, accuracy here is crucial.
Step 6 - Continue Installing
Work outwards from the centre, fitting one row at a time. Check each board is properly locked or secured before moving on. Always leave an expansion gap around the edges of the room to allow for natural movement.
Step 7 - Cut Around Edges and Obstacles
As you reach walls or doorways, measure carefully and cut boards to fit. Maintaining a consistent expansion gap will help prevent issues later.
Step 8 - Fit Finishing Trims
Complete the look with skirting boards, architraves, thresholds, and floor trims. These cover expansion gaps and give a clean, professional finish.
Looking After Your Floor
Sweep or vacuum regularly to remove dust and grit. Clean spills quickly and use a pH-neutral cleaner. Avoid excess water, especially on real wood flooring, and consider using specialist wood floor oils or cleaning products to maintain the finish.
With the right preparation and attention to detail, laying herringbone flooring is a rewarding project that can transform a space. Explore our range of herringbone flooring, underlay, adhesives, and finishing trims to get started.